Show customers they can split payments into installments with Scalapay's buy now, pay later option. Can be displayed below or above checkout.
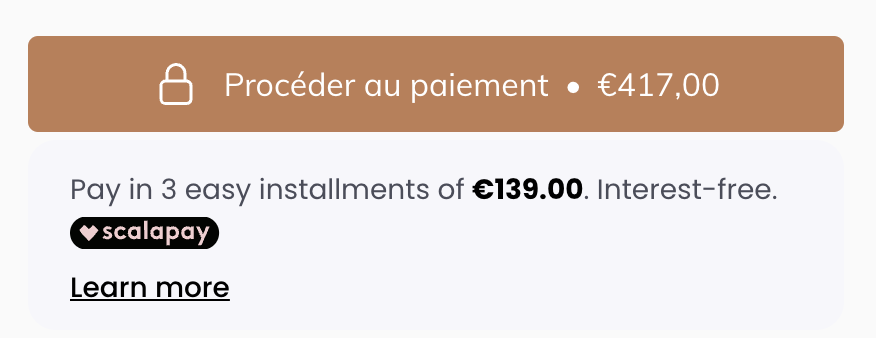
Buy now, pay later options can significantly increase conversion rates. Showing Scalapay's installment options directly in the cart helps customers understand they can afford their purchase by splitting payments, reducing cart abandonment.
Scalapay merchant account
EliteCart Professional account
Log in to Scalapay Merchant Portal
Note your merchant configuration
Ensure Scalapay is enabled for your store
Go to Cart Designer → Custom HTML
Choose position: Above checkout button
Enable the position and enable Widget mode

Paste this code into the html editor:
<script type="module" src="https://cdn.scalapay.com/widget/scalapay-widget-loader.js?version=V5"></script>
<scalapay-widget
  amount-selectors='[".ec-cart-total"]'
></scalapay-widget>
The amount-selectors must be set to [".ec-cart-total"] for EliteCart
Widget automatically detects cart total from this selector
Modal appears on click to explain payment options
You might need to add additional settings other than the amoun-selector. Scalapay support will be happy to help you out with the specifics.
Save changes in EliteCart
Open your store
Add products worth €50+ to cart
Verify Scalapay widget appears with installment info
Click widget to test modal